Y
YFCvii
Making this new thread with hope that it is easy to search for SD Card FAT32 formatting methods
Found that my MacBook has become an excellent device to create FAT32 format SD Cards for the C7 PDR.
I formatted a 64Gb Card for 1577 minutes of PDR recording time. (over 26 1/4 hours)
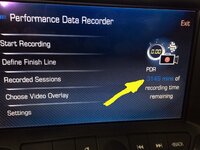
I formatted a 128Gb Card for 3149 minutes of PDR recording time. (almost 52 1/2 hours)
If you have a MacBook, here is the method to format an SD Card
Note: I have used thumbnail photos as to make this instruction sheet easy to see.
Just click on the thumbnail to enlarge the photo
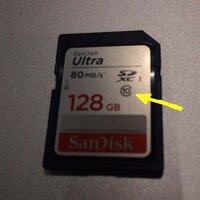
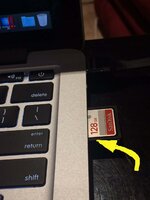
1. Insert new SD Card Type 10 into the MacBook slot
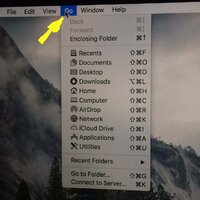
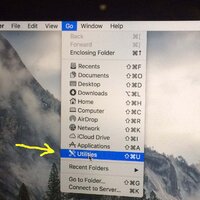
2. Open "Disk Utility" App
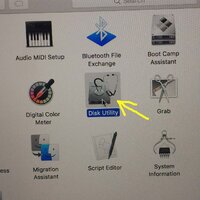
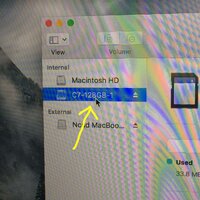
3. Click the SD in the App Window and an Info Screen Pops Up
(note my SD card was previously named so you will be looking on this screen for one without a name)
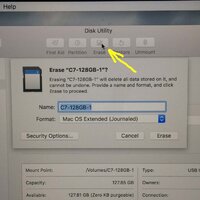
4. There is an "Erase" box on this Pop Up - just click on it
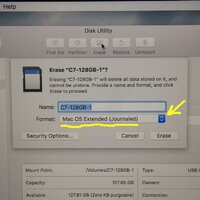
5. Another Popup occurs and in this box you can give your SD Card a "name"
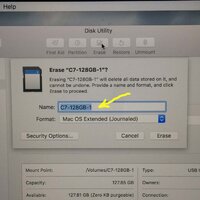
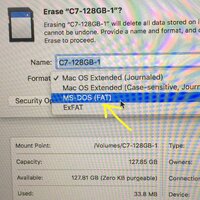
6. You will see Format:Mac OS Extended (Journaled) with a up&down arrow beside
Click the up&down arrow and select "MS-DOS (FAT)"
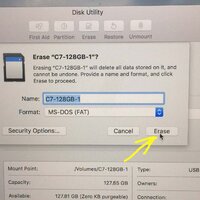
7. Click "Erase" at the bottom
8 . Within a few seconds it will be completed. Click "Done"
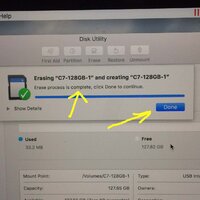
9. You will now be able to confirm FAT32 Format - which is what your C7 PDR requires
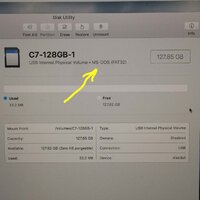
10. The SD Card will then need to be safely ejected from your MacBook
find the Card on your screen and (left click) for the Pop Up
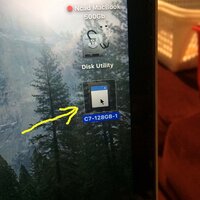
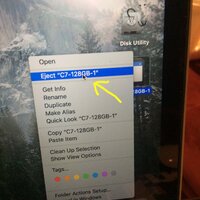
11. On the Pop Up Click "Eject" and then your SD Card can be safely removed from the slot
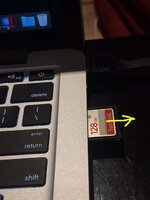
10. Place this SD Card in your Corvette PDR
11. In the PDR Option on your Console Screen display will show you have #### minutes free
Photos here are those for a 128Gb card I just did ... and for those who might not have the tech savvy and/or the equipment, please do not hesitate to ask questions and/or whether someone nearby might be able to help make one for you. As for price, Walmart has a Quality SanDisk 128Gb Type 10 SD Card for about $80 plus tax (Feb 2018) ...
Found that my MacBook has become an excellent device to create FAT32 format SD Cards for the C7 PDR.
I formatted a 64Gb Card for 1577 minutes of PDR recording time. (over 26 1/4 hours)
I formatted a 128Gb Card for 3149 minutes of PDR recording time. (almost 52 1/2 hours)
If you have a MacBook, here is the method to format an SD Card
Note: I have used thumbnail photos as to make this instruction sheet easy to see.
Just click on the thumbnail to enlarge the photo
1. Insert new SD Card Type 10 into the MacBook slot


2. Open "Disk Utility" App


3. Click the SD in the App Window and an Info Screen Pops Up
(note my SD card was previously named so you will be looking on this screen for one without a name)

4. There is an "Erase" box on this Pop Up - just click on it

5. Another Popup occurs and in this box you can give your SD Card a "name"

6. You will see Format:Mac OS Extended (Journaled) with a up&down arrow beside
Click the up&down arrow and select "MS-DOS (FAT)"


7. Click "Erase" at the bottom

8 . Within a few seconds it will be completed. Click "Done"

9. You will now be able to confirm FAT32 Format - which is what your C7 PDR requires

10. The SD Card will then need to be safely ejected from your MacBook
find the Card on your screen and (left click) for the Pop Up

11. On the Pop Up Click "Eject" and then your SD Card can be safely removed from the slot


10. Place this SD Card in your Corvette PDR
11. In the PDR Option on your Console Screen display will show you have #### minutes free

Photos here are those for a 128Gb card I just did ... and for those who might not have the tech savvy and/or the equipment, please do not hesitate to ask questions and/or whether someone nearby might be able to help make one for you. As for price, Walmart has a Quality SanDisk 128Gb Type 10 SD Card for about $80 plus tax (Feb 2018) ...


